> ## Documentation Index
> Fetch the complete documentation index at: https://help.messagesync.ai/llms.txt
> Use this file to discover all available pages before exploring further.
# Legacy WhatsApp Setup
> This is the for connecting WhatsApp. It sets WhatsApp as a custom SMS provider for your sub-account before connecting.
Most users should follow the newer [WhatsApp Full Setup](/whatsapp/full-setup) flow instead. Use this page only if you specifically need the SMS provider method.
* Select your target sub-account and go to settings
* Go to `Settings > Phone Number > Advance Settings`
* Select WhatsApp as custom SMS provider
* Click on Save button
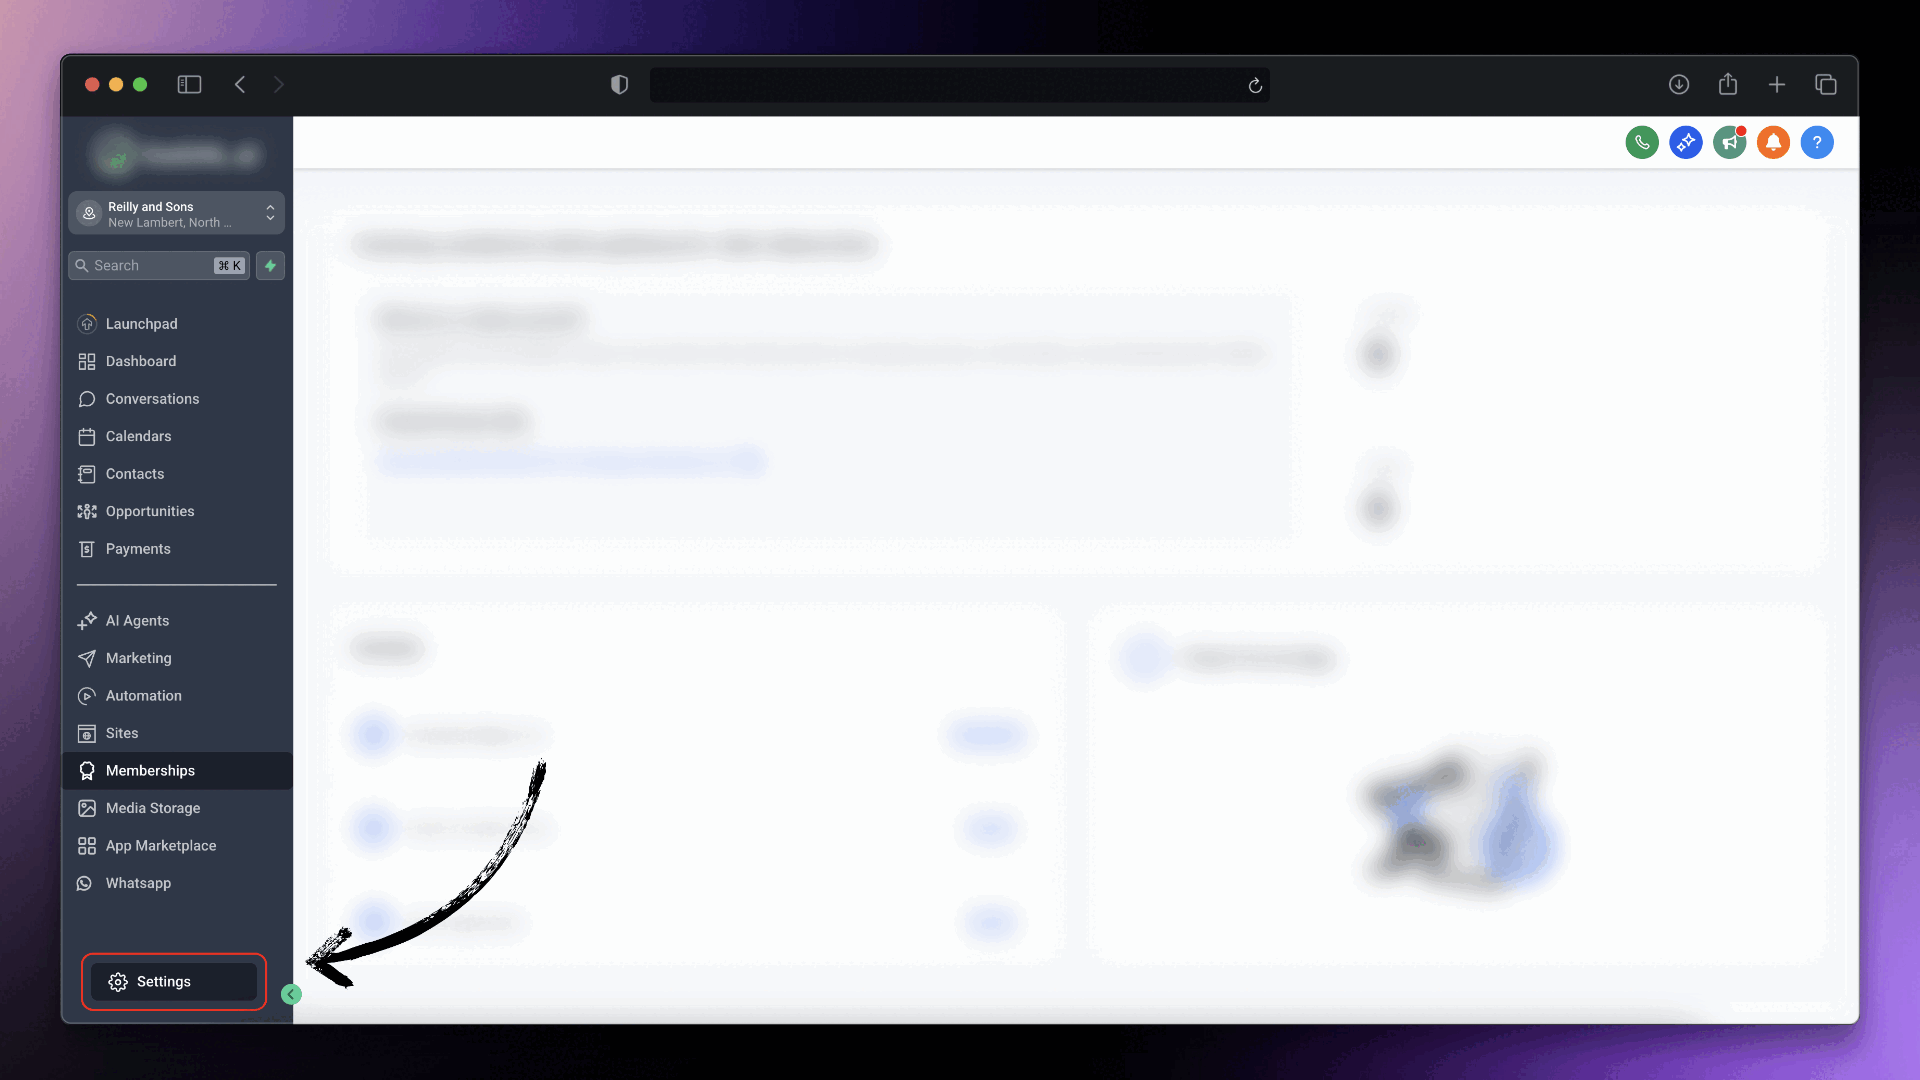 Make sure WhatsApp custom provider have **`Default`** tag. Click on Save Button to add **`Default`** tag.
Once you've successfully installed our app and changed the SMS provider, lets connect your WhatsApp
* Go to the WhatsApp tab from your sub-account
* Click on `Connect` button, wait for the QR Code.\\
Make sure WhatsApp custom provider have **`Default`** tag. Click on Save Button to add **`Default`** tag.
Once you've successfully installed our app and changed the SMS provider, lets connect your WhatsApp
* Go to the WhatsApp tab from your sub-account
* Click on `Connect` button, wait for the QR Code.\\
 * Once QR code is visible follow the mentioned steps on your phone:
* Open `WhatsApp → Settings → Linked Devices → Link Device → Scan QR`
* Once QR code is visible follow the mentioned steps on your phone:
* Open `WhatsApp → Settings → Linked Devices → Link Device → Scan QR`
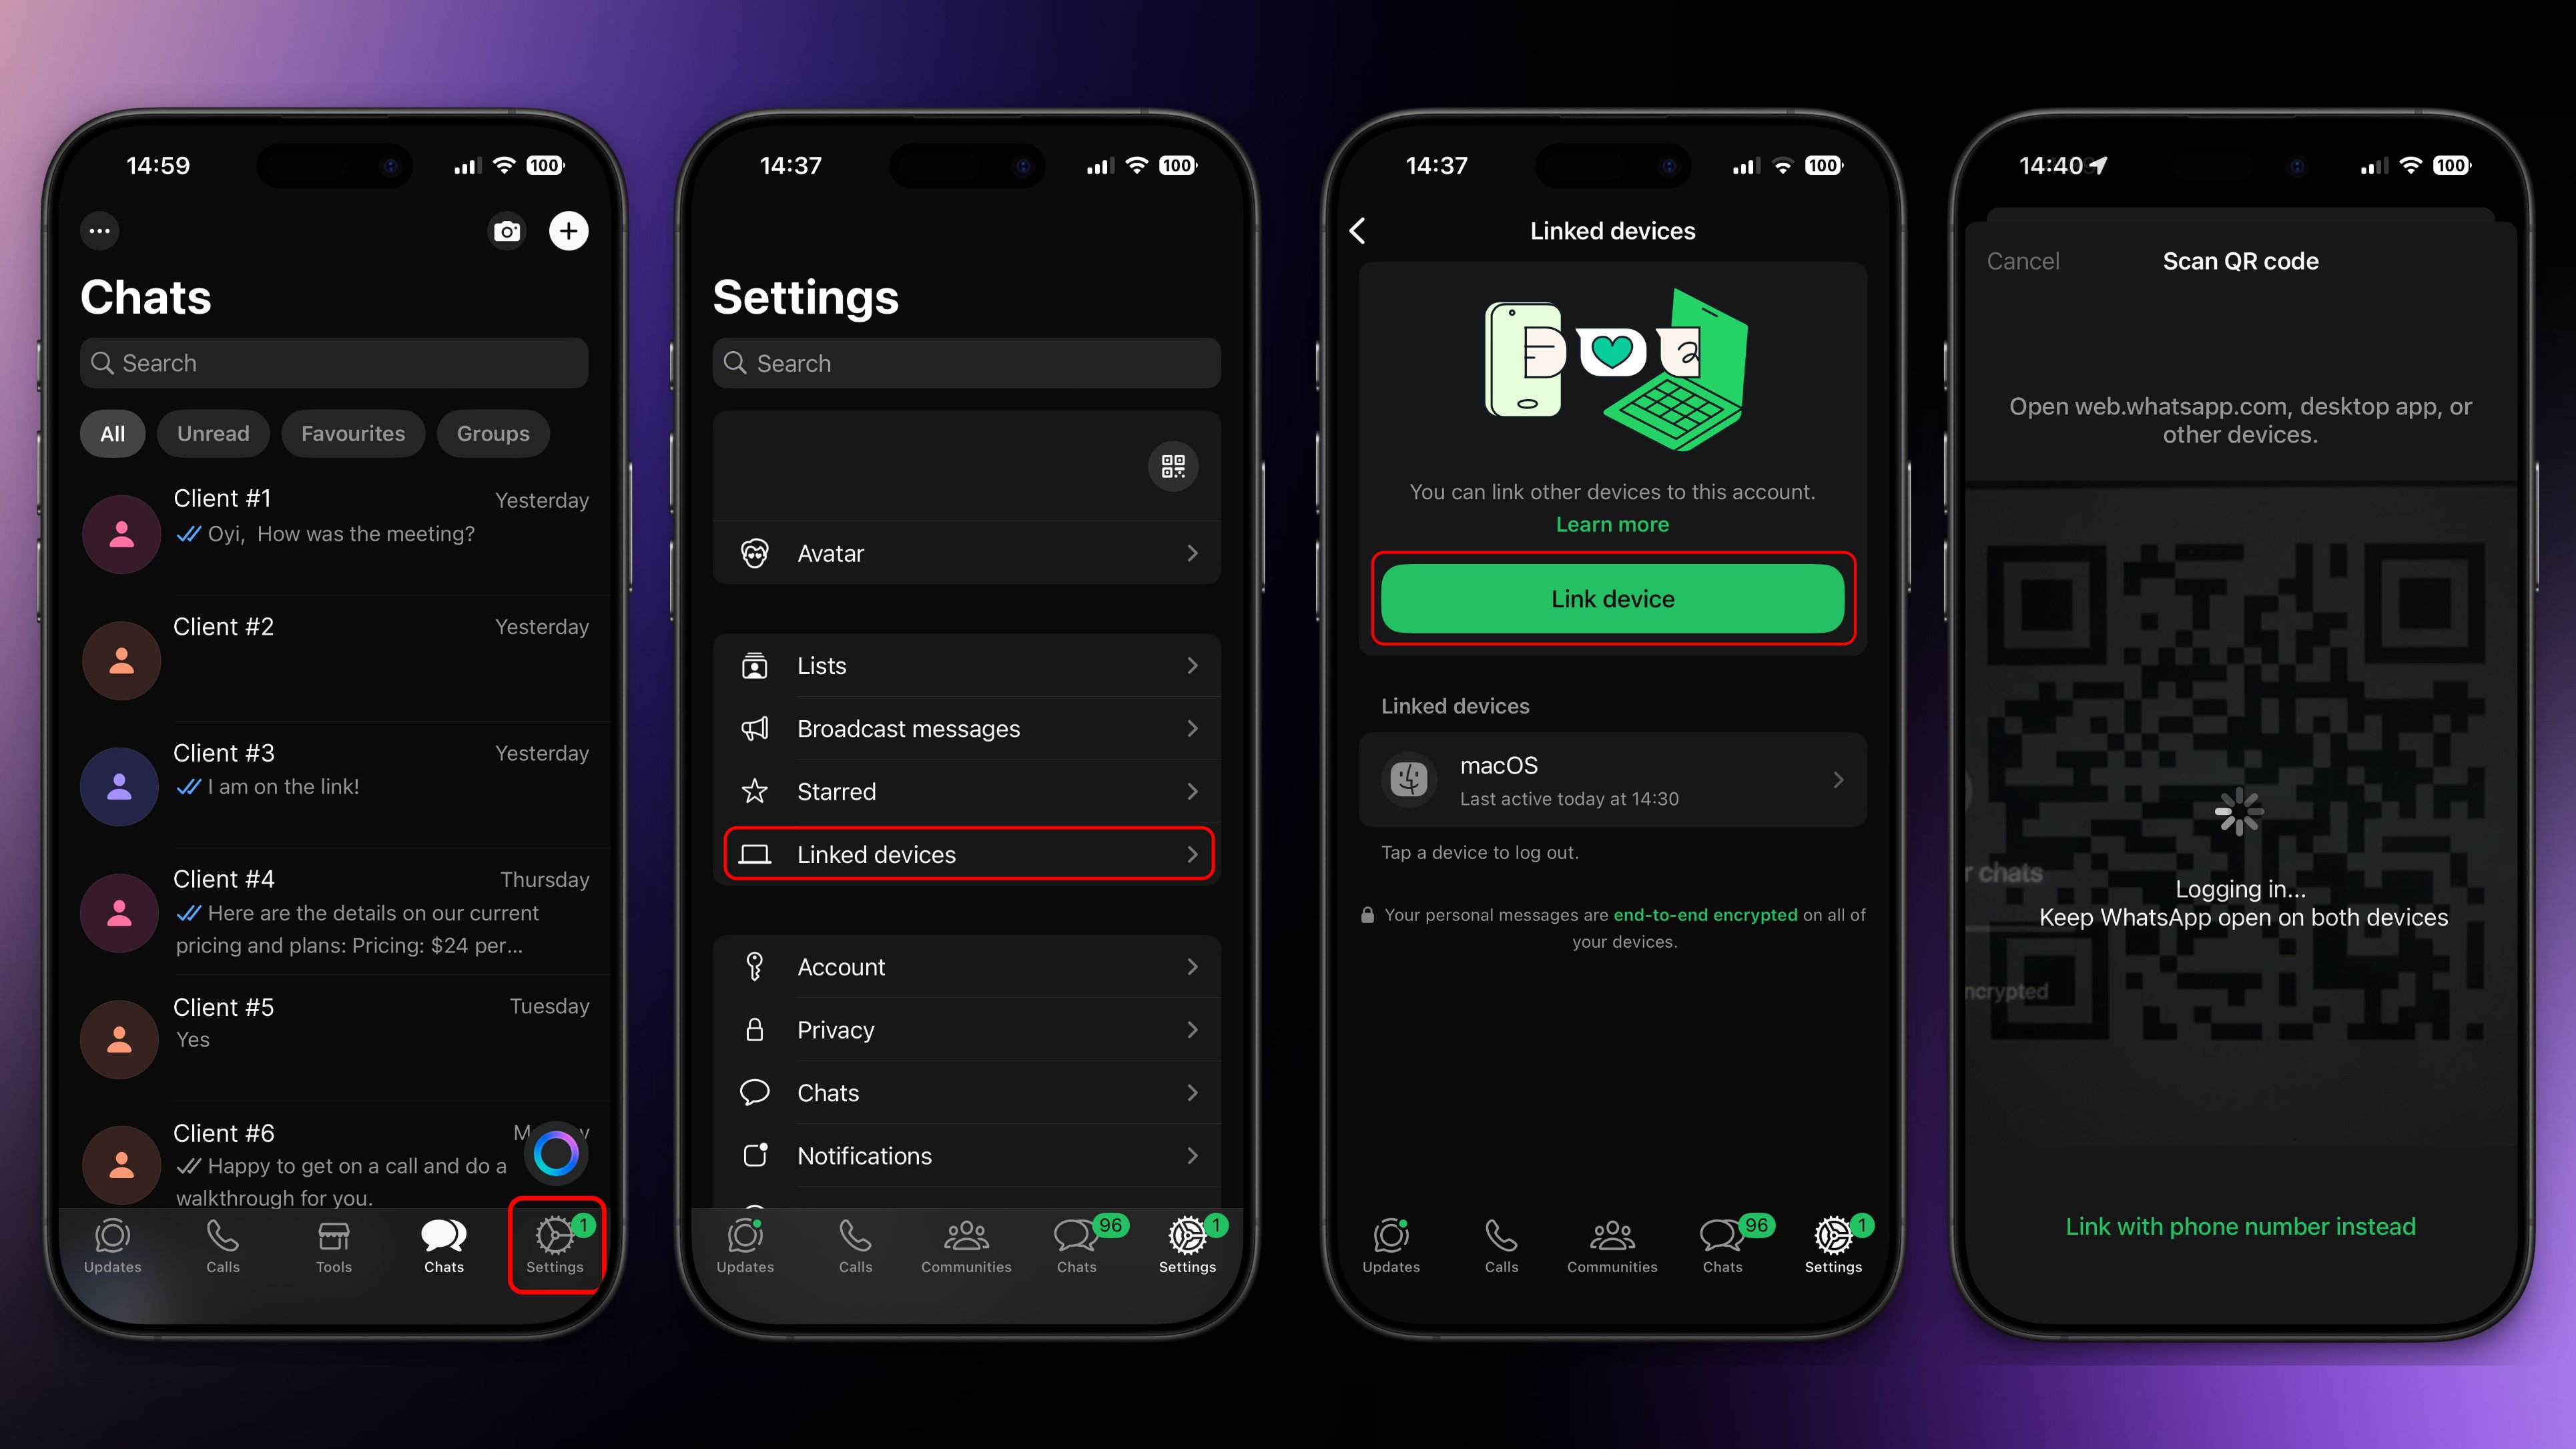 These are iOS screenshots, Android flow might vary slightly.
* Wait a few moments, and you should see a confirmation in your console indicating that your WhatsApp is now connected.
These are iOS screenshots, Android flow might vary slightly.
* Wait a few moments, and you should see a confirmation in your console indicating that your WhatsApp is now connected.
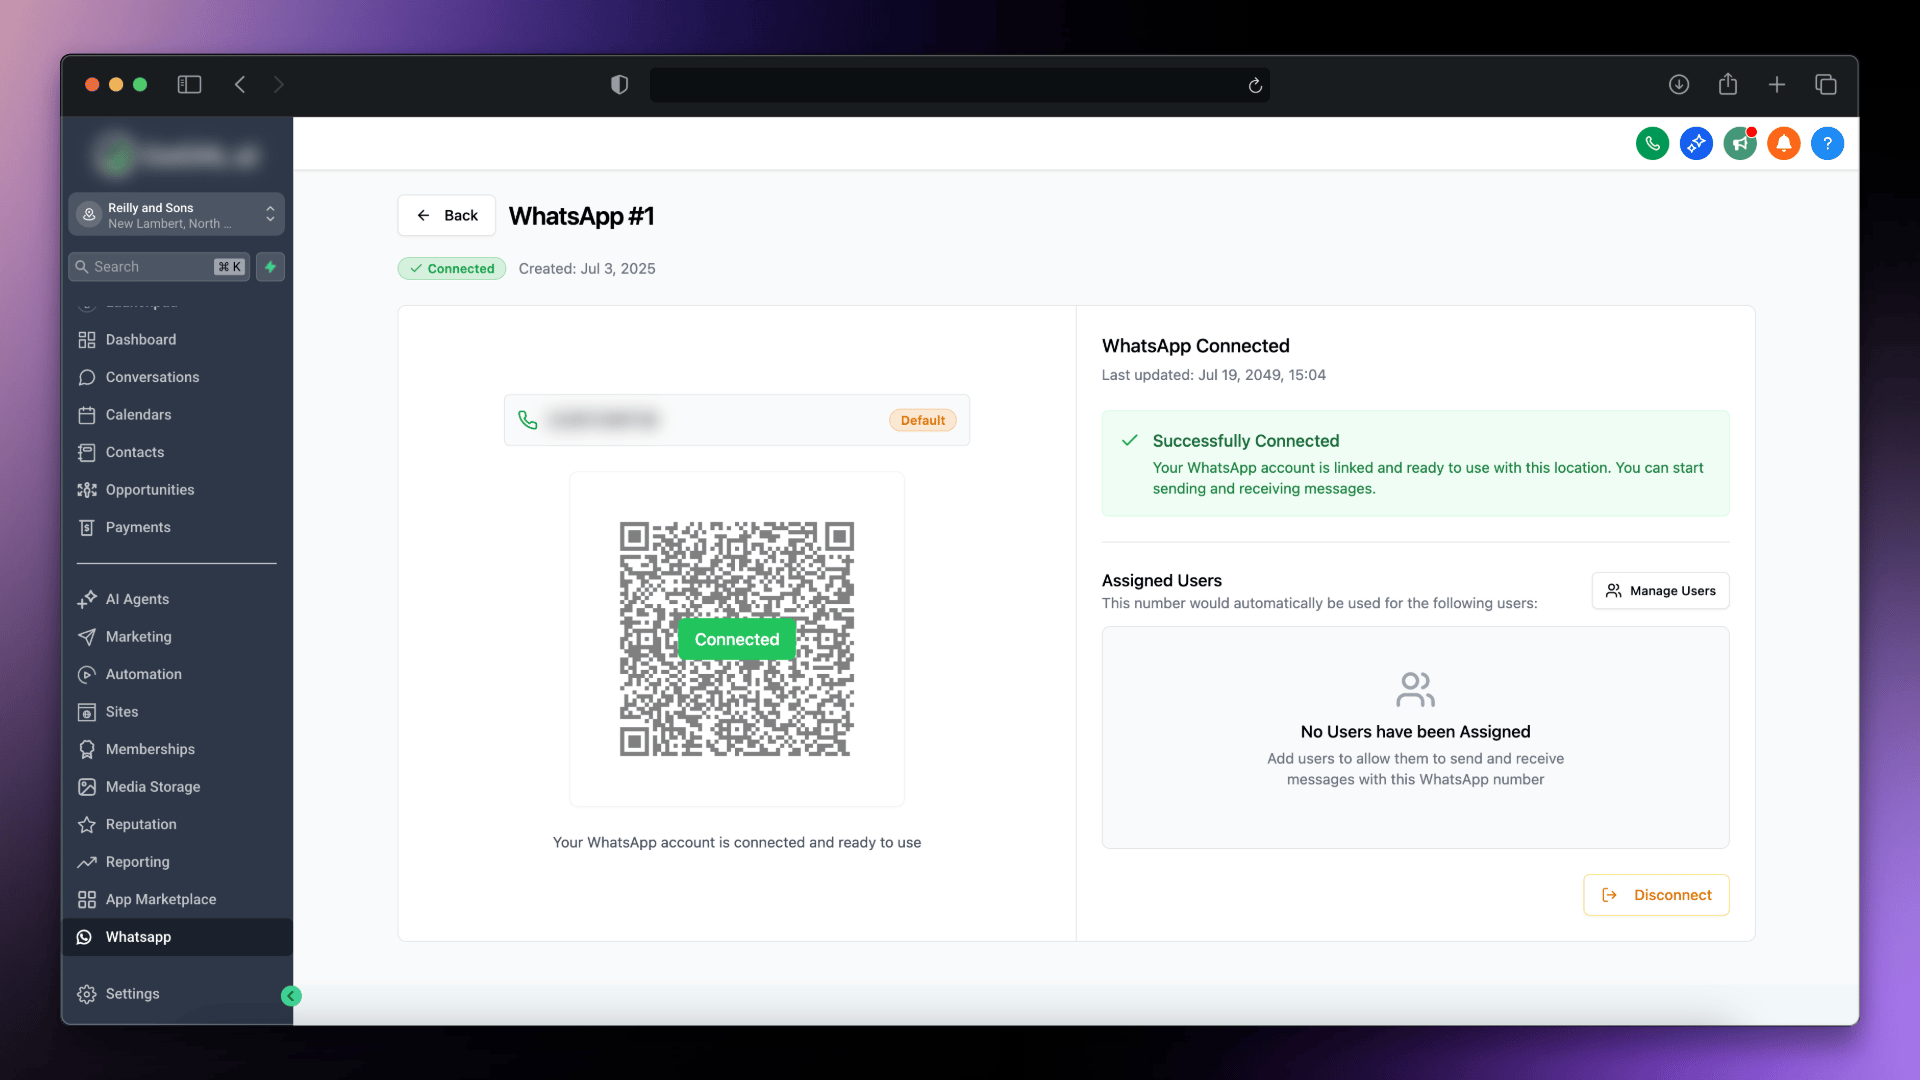 Your WhatsApp number is connected and ready to use.
* Once connected, you can start sending messages directly to your contacts.
* Go to `Contacts → Select Contact → Send Message`
Your WhatsApp number is connected and ready to use.
* Once connected, you can start sending messages directly to your contacts.
* Go to `Contacts → Select Contact → Send Message`
 Hurray, You've completed the setup!
***
## Support[](#support "Direct link to Support")
If you need help with the setup or onboarding:
* Email: [**support@messagesync.ai**](mailto:support@messagesync.ai)
Hurray, You've completed the setup!
***
## Support[](#support "Direct link to Support")
If you need help with the setup or onboarding:
* Email: [**support@messagesync.ai**](mailto:support@messagesync.ai)